BoSL Probe No1
Contents
11th December 2019
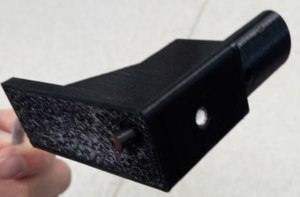
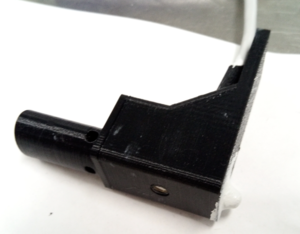
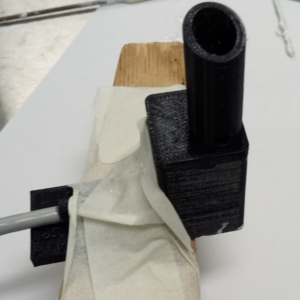
The BoSL Probe enclosure was printed, and is fitting well.
17th December 2019
A new probe is on its way, I found that applying some ethanol to a tool helps it to shape the waterproof epoxy and smooth to create a more even surface.
18th December 2019
The probe was filled with waterproof epoxy and left to cure. It takes about one tube to fill the cavity so it might be beneficial to optimise the shape of the probe so that less epoxy is used.
19th December 2019
The sensor made yesterday died only after a few hours of in water testing. The epoxy used was PC Clear Clear Liquid Epoxy Multi-Purpose "waterproof" clear epoxy. It appears that it is not very waterproof however.
21st January 2020
A new casing was made for the all-in-one probe with a top bottom split. This should make assembly easier and help reduce the overall height profile of the sensor. The print was made without supports and was mostly successful in this. Some of the overhangs produced poor results and so changes to the design which supports these better when printing should be made. The metal temperature shroud fits well into the cutout, however the edge of the PCB fits too closely to the casing wall to allow a good seal between the metal shroud and the casing.
Below are some images of the new design.
14th April 2020
I thought it was about time we placed our wiring configuration online. Here is the run down.
Our Ethernet port is configured as follows (from left to right, looking at the copper prongs):
Orange/White -
Orange -


