Difference between revisions of "NRF9160 modem firmware"
Jump to navigation
Jump to search
| Line 12: | Line 12: | ||
# On success you will see a screen like the screenshot below. Click "Close". [[File:Mdfu succ.png|thumb|modem firmware update success screen]] | # On success you will see a screen like the screenshot below. Click "Close". [[File:Mdfu succ.png|thumb|modem firmware update success screen]] | ||
| − | Programming of the nRF9160 modem firmware is now complete. As the application firmware was erased while flashing the modem firmware, this will need to be | + | Programming of the nRF9160 modem firmware is now complete. As the application firmware was erased while flashing the modem firmware, this will need to be reflashed. |
Revision as of 01:53, 22 April 2024
This page is about how to program the nRF9160 modem firmware.
- Download v1.3.2 of the nRF9160 SiP modem firmware from: [1].
- Download and install nRF connect for desktop available at: [2].
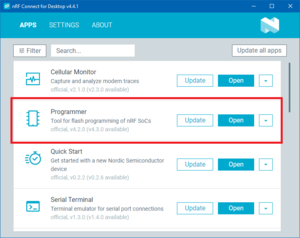
- Open nRF connect for desktop, install and then open the Programmer tool:
- Connect the nRF9160 to the computer via a segger j-link. Ensure that the nRF9160 is powered.
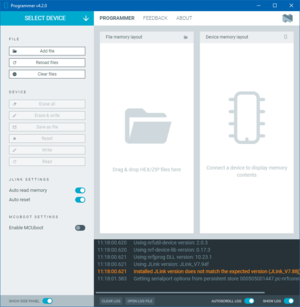
- Select the j-link probe from the drop top-left drop-down menu "SELECT DEVICE" in the Programmer tool:
- Click "Add file" and select the modem firmware .zip file.
- Ensure under "JLINK SETTINGS" on the left hand side that "Auto read memory" and "Auto reset" are both enabled.
- Ensure under "MCUBOOT SETTINGS" on the left hand side that "Enable MCUboot" is enabled.
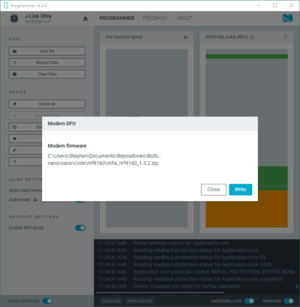
- Click under "DEVICE" on the left hand side click "Write". You should get a popup prompt as per the screenshot. Click "Write". The programming process could take up to a minute
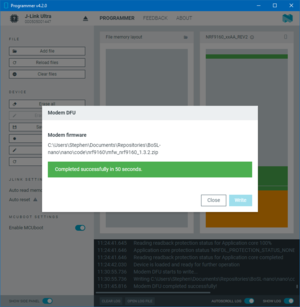
- On success you will see a screen like the screenshot below. Click "Close".
Programming of the nRF9160 modem firmware is now complete. As the application firmware was erased while flashing the modem firmware, this will need to be reflashed.


